Create office
Note: This option is available only to Super Users.
To create a new office, access the Offices screen and click Create.

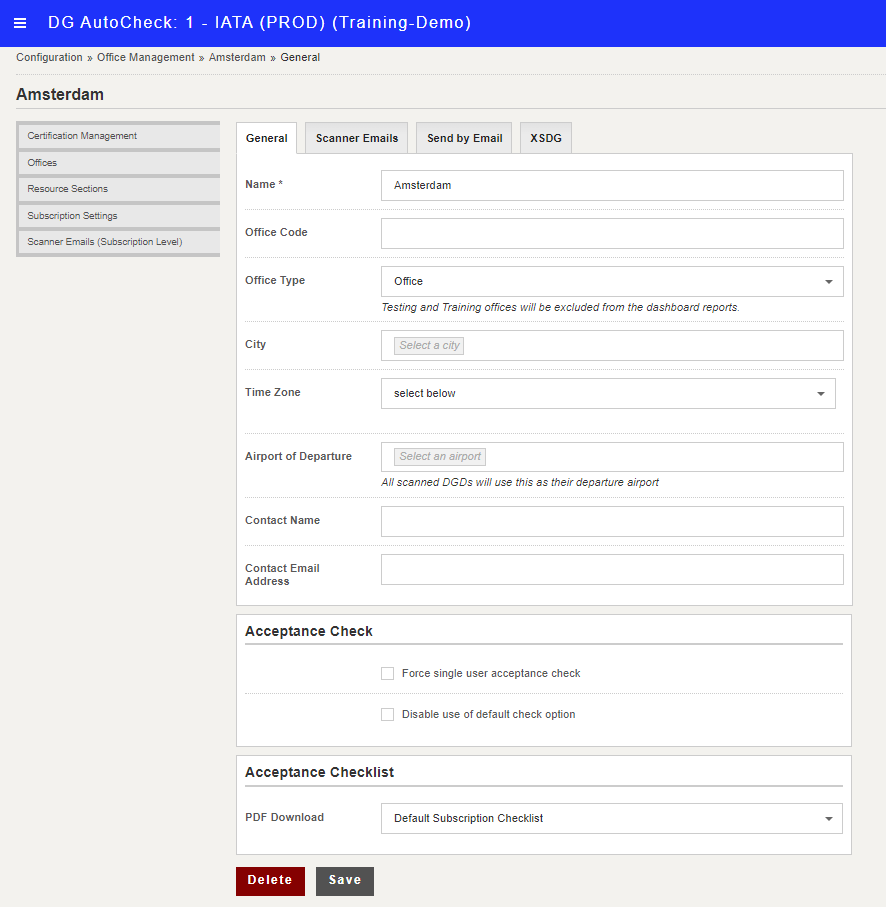
The Create Office screen is displayed.
Note: To create a new office, only the office name is mandatory. Rest all are optional.
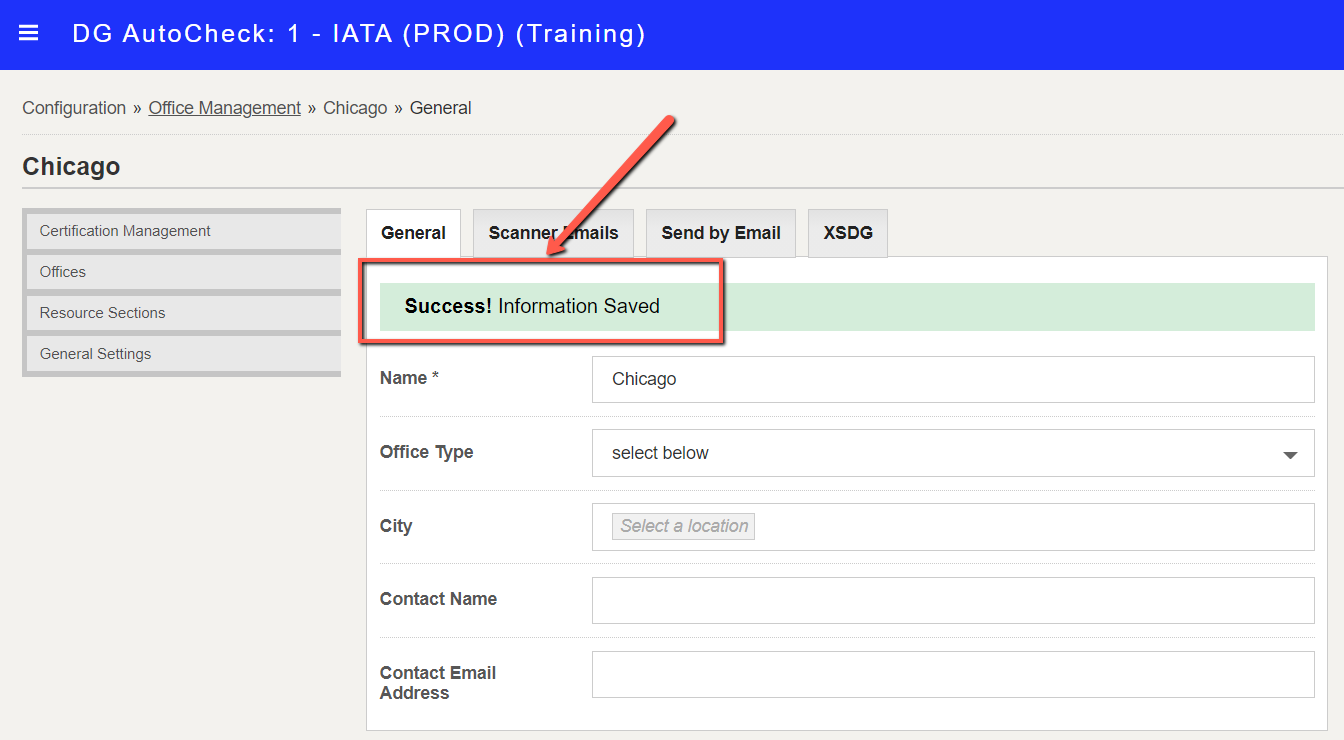
You can enter the office details as follows.
Name
This is the office name to be displayed on top right corner of the screen. (Mandatory)
Office Code
This is to provide a short name for the office. (Non-mandatory)
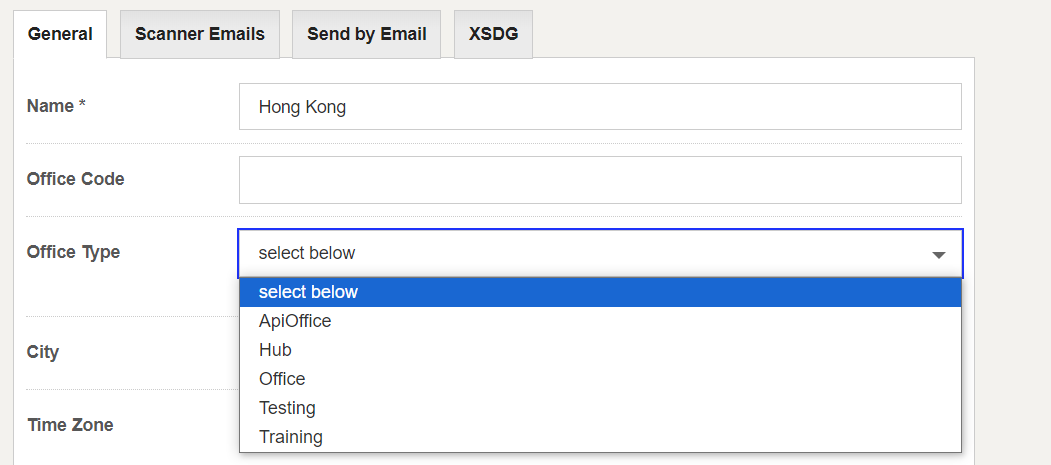
Office Type
This is to indicate the office type. You can select office type as Training or Testing to exclude the checks done in the office from the Reports section. (Non-mandatory)
City
This is the city where the office is located. You can start typing the name of the city and then select it from the list shown. Upon selecting the city, the Time Zone will be populated automatically. (Non-mandatory)
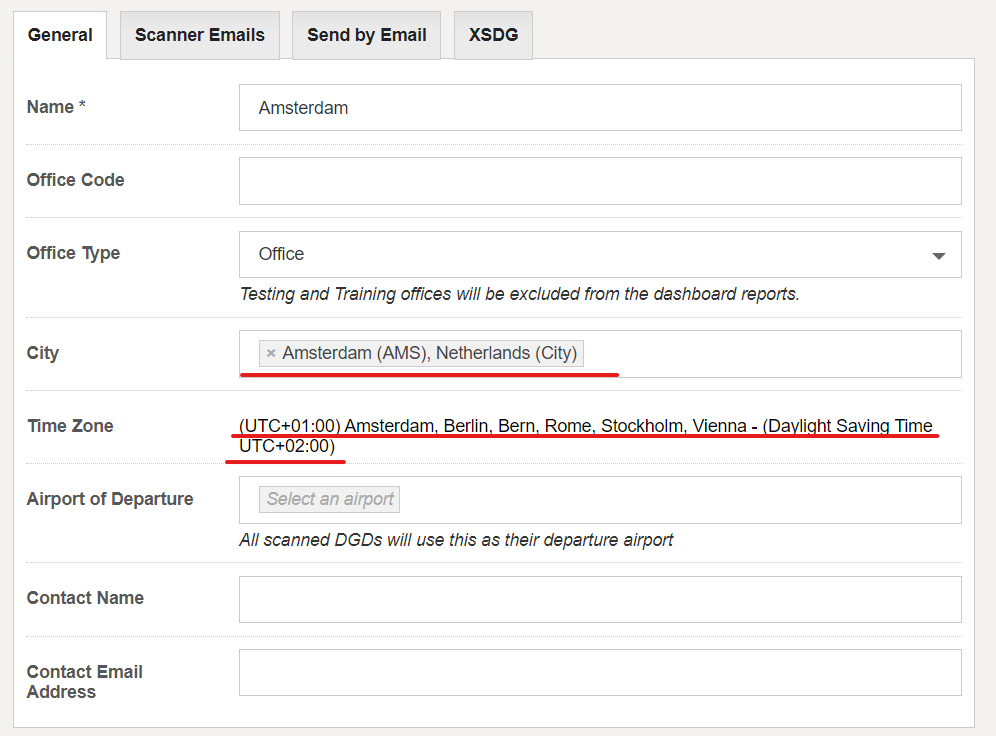
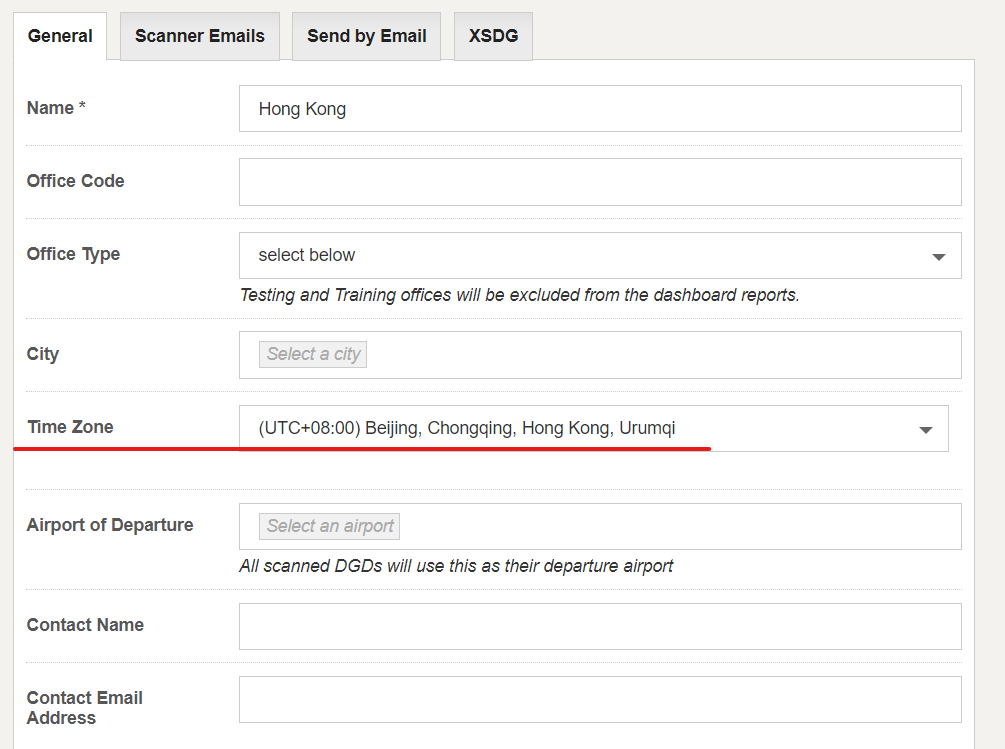
Time Zone
This is the time zone of the office. When the city is selected, the Time Zone will be populated automatically. When the city is not selected, you can manually select the applicable time zone of the office (as shown). (Non-mandatory)
Airport of Departure
This is the default airport of departure that will be applied to all DGDs uploaded to the office, overriding the OCR read value. (Non-mandatory)
Example of how the default airport of departure is applied:

Contact Name
This is the name of contact person to send reports or alerts for this office. (Non-mandatory)
Email Address
This is email address of the contact person to send reports or alerts for this office. (Non-mandatory)
Force single user acceptance check
Selecting this option will ensure that for this office both Documentation and Packaging checks are always performed by a single user.
If this option is not selected, then two different users can do the Documentation check and the Packaging check. Both sign-off names will appear on the acceptance report.
Note: This option is visible only if Allow multiple checkers for acceptance checks option is selected in General Settings.
Disable use of default check option
You can use this disable the default check option shown at the start of the Documentation check (Settings screen).
When disabled, users will need to answer manually all questions which are not autochecked.
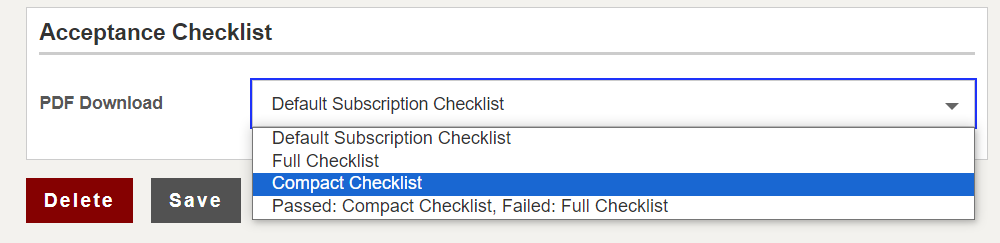
PDF Download
You can use this to specify the Acceptance checklist to be displayed. (Non mandatory)
There are 4 options available.
- Default Subscription Checklist (default option): Display the checklist based on the Subscription level setting.
- Full Checklist: Display the Full checklist (i.e. the default DG AutoCheck checklist), regardless of the Subscription level setting.
- Compact Checklist: Display the Compact checklist (i.e. the 2-Pager checklist), regardless of the Subscription level setting.
- Passed: Compact Checklist, Failed: Full Checklist: Display the Compact checklist when a check is “passed”, and display the Full checklist when a check is “failed” (regardless of the Subscription level setting).
After entering all the details, click Save to create the office.
Related topics: